Showing posts with label Winter maintenance 14/15. Show all posts

Monday, 13 April 2015

Job #11 - masthead light (and windex) - completed

....that's it - all done now, just need to nip down the nuts on the bolts holding the new cam cleats, and give her a swift wash, both of which I'll do this week one evening, but the job list for this winter is now as complete as I had time for...

...with apologies for the blurriness of the pictures, the job on Sunday was to complete the masthead fitting, the best part of which had been figuring out what to use as a bracket for the windex base - in the end, having discarded the idea of plastic joinery blocks (and old favourite of mine), and actually bought some "MDF Joinery Rigid Joints" I actually found what I really wanted in my "spares/junk/keep that for later" box in the garage...  one section of a plumbing fitting used to hold plastic pipes to a wall... just snipped off one side, and I ended up with the following collection of 'bits'..

The windex bracket is on the right in front of the masthead light, the HDPE has been pre-drilled for the mast head plate....


...which is as follows:


...in order -
  • windex bracket bolted to rear corner; 
  • windex fitting bolted to bracket; 
  • tested continuity of the mast cable by twisting the cable together at mast head, and testing at the plug at mast base - all good after I'd also swapped plug to a new one (old plug was UV brittle)
  • two bolts to hold the whole shebang to the mast plate (they are too close to the light fitting to put in after); 
  • light fitting bolted to HDPE (with butyl tape between base and HDPE); 
  • HDPE then bolted to mast fitting with washers/penny washers
  • cable fed through and new female spade connectors crimped and fitted to light fitting
  • bulb in and checked continuity again (still good)
  • lens on and then amalgamating tape wrapped round join where lens fits body, and a blob of butyle pushed up the hole where the wire goes through the plates..
...job done...


..and underneath...


I'll fit the actual windex just before I raise the mast - "Sparrow" is likely to be moved around the yard before launch day (to make way for other boats behind me that are going in before me), and the windex is a mite exposed to possible damage...


...I enjoyed that..

Restocked the boats essential supplies () and all done for the day...

Friday, 10 April 2015

So close I can smell it... Job #16 Antifoul, Job #21 Varnish grab rails and Job #11 masthead light

Made some really good progress in the last few days.. the new lighter evenings coupled with warm sunny weather have meant two or three hours working on the boat after work is now possible and I've taken advantage this week...

So Wednesday saw me dismantling the old light on top of the mast  (Job #11 - 6) in readiness for fitting a new one..

I had expected it to be a right pain in the nether regions to get off, but turned out to be not quite so bad.. the old one is one of these (Aquasignal 40 series I think), but so old that due to UV damage over the years the lens was completely opaque..  it was also the old style screw on (piccie is the newer click in style)

The previous owner had attached an aluminium plate to the top of the mast, which the light was then bolted to - disimilar metals on bolts and plate had caused them to lock solid except for one - having tried to undo them I succeeded with the one, and then resorted to a very large screwdriver to lever the bottom of the light which caused the others to give way...

The good news is that the aluminium plate is largely sound as I have plans for it - I've made a slightly larger plate out of HDPE (chopping board plastic) which I will bolt to it, and which will have the light and also my Windex on it... that's a job for this coming weekend.

The new masthead light is a plain white - Sparrow's less than 12m so doesn't really need a tricolour, and when the time comes, the port and starboard nav lights will go at deck level where I can more easily see/fix them if they need it...

Having got the light off, and tidied up the aluminium plate I then moved to the next job which was to sand and varnish the coach roof grab rails with the same stuff I used on the rubbing strips - I've put two coats on because they looked largely ok - I may put on another coat this weekend when I have time to check them..  While I was doing it and had the paint brush out, I also rubbed down and varnished the outboard mounting plate....  and that was the jobs done for that evening..

When I got home I was slightly amazed to see that the antifoul had arrived (they only shipped it the day before) so that went on last night...

Obligatory "before" shots..


...and after....  


...two coats, with an extra thicky layer on the waterline and the leading edges ..


 ...boats with navy blue bottoms look the dogs nadgers!!

So close to completion I can smell it..  so what's left to do?? Masthead plate would be good - not bothered so much about the light but I'd like the windex...  and bolt down the new cam cleats...  to be honest I could do both on the water if I wanted so I'm that close....

Tuesday, 7 April 2015

Cracking on... Job #8 - Washboards / Job #19 - Jammers / Job #9 - Hatch covers / Job #16 - Antifoul / Job #20 - Rubbing Strips

..busy, busy, busy..  two weeks to launch.. the club yard, and Sparrow, is a hive of activity..

...jobs are getting ticked off like a metronome...  tired though..   so after the four day weekend...

...the lower washboard (Job #8) is done...  scraped back to sound paint, sanded, and then ended up putting on four coats (I think) of exterior white.. I have a new padlock hasp on order that's in transit from Hong Kong of all places (reasonably priced stainless fittings in the UK just don't seem to exist..). 
 
Next winter I'll build new ones, in fact one singular, as I fancy a single board...


...the hatch covers are now also done - Job #9 - exterior quality ply, three coats of white exterior both sides, neoprene tape on all four under edges - nutted, bolted and butyl'ed to the point of maximum tightness, happy with these..  one of the two 'major' jobs for the winter..


...the VHF base and flagpole holder are now in place on the push pit board..  I took delivery of a cable gland this week which I planned to use for the VHF aerial cable, but before I start drilling holes I need to finalise in my own mind what plugs sockets and adaptors I'll be using..

...with a palm sander I took the rubbing strips back to a solid, smooth, surface (Job #20), and they have now had three coats of the same exterior wood stain [clicky] I put on the pushpit board.


I think they look good - time will tell if this was a useful experiment or not..  either way, job done..


...the other big job of the winter is the jammer replacement (Job #19) - they are now ready to go on and I was all set to do them when I realised the new bolts I had bought weren't long enough - having drilled through and measured I think the thickness at the top of the winch post must be something like 25-30mm..  a whole inch...  marine ply under the surface glass/gelcoat, with another layer of glass underneath.. very solid! So 40mm bolts needed and I will get them this week, just a matter of bolting it down then as the holes are now drilled both sides.

Separately, the anti-foul (job #16) is ordered and should arrive Wednesday this week ready for next weekend.. I was unimpressed with the Tiger Xtra last year (though to be fair it didn't seem to do any worse than anyone else's in the club - it was a bit a warm, sunny, weed-fest last summer seemingly) but this year with no bargains at the chandlery's round here, and Flag Cruising no longer available from Toolstation, I've gone with Premier Marine Paints Cruising Plus. 2.5 ltrs of dark blue (everyone knows boats look the dogs nadgers with a dark blue bottom) set me back £39 including the postage, from Amazon of all places (is there anything they don't sell?)..  bargain, as I had some birthday vouchers to spend anyway..


Times moving on fast now - I have my launch window - I'm going in on the 19th, all being well..  just the two jobs left to do though, oh, and a damn good wash with the  Silky Marine Deep Cleaner [clicky]...

Saturday, 4 April 2015

Job #22 - push pit board refurbishment - Job #17 Service outboard - completed

From this un-pretty sight..


..to this.. a slightly prettier sight.. 


...sanded back to the wood, and then 3 coats of exterior, oak shade, wood protector..


...not a varnish, but it does give a smooth hard surface..


..and despite the blemishes still showing through, it looks a lot better...

...finished it off with butyl tape under the washers/bolts (to protect against water ingress); I'll refit the flagpole holder, and the base for the new VHF aerial tomorrow.. done..

Speaking of "done", I picked up the outboard from the engineers this morning - that's done as well... all good; not a moment too soon for the anode (on the right) though..


..uh oh..


Sad news, Bill (of Home Marine at Emsworth, the outboard engineers I use) tells me he's retiring as of this year, 67 years is enough he says, the good news is that he leaves the business in good hands as Simon will be taking over..

Wednesday, 25 March 2015

More ticks than a mangy dog...

...but in this case ticks off the job list though, and stuff I can do at home in the evenings and after work..

Job #23 - life jacket service - completed ..  gas bottles weighed (same weight as last year), screwed back in and checked firm - trigger mechanisms checked - inflated for 24 hours and all OK afterwards. Now re-packed and ready for the new season..

Job #22 - push pit board refurbishment - started - not a pretty sight to begin with..


I slapped a quick coat of varnish on these at the beginning of last season but the damage had already been done to be honest..


I've now given them a sanding within an inch of their life, and the coats of exterior wood stain are going on as we speak (one each side so far - three should do it); it won't cover the blemishes, but it should protect them.. 

Job #11 - item 3 VHF antenna  aerial - arrived this week; I know the range will be less, but the mast is only 20 odd foot and I like the idea of the aerial being readily available so the spot on the pushpit board may become permanent - we'll see next winter...

The aerial is a Banten (which is a reasonable make) but best of all it comes with the mounts for a flat surface - superb value for what it is - only time will tell on the quality (both of the aerial, and my soldering!)


Separately - Suzy the Suzuki outboard [clicky] sold this week on eBay - one can only hope the buyer turns up with cash this time, but I have a good feeling about this one...  the money from the sale will go towards a new main sail (eventually...)

Monday, 23 March 2015

Good progress.... Job #5 - Paint cabin / Job #8 - Washboards / Job #19 - Jammers / Job #9 - Hatch covers

Man it was a good weekend....  lots of progress being made, including on the two "biggies" this winter.. 💪👍

So without further ado - job #5 "Painting the cabin" is done...  finished fairly early on Friday and as it was nice and sunny and I had no need to rush home I slipped down to the club and put the second coat on - job officially finished...  looks oodles better, and all the nicer for not expecting to be able to do this one this winter - blame the weather a couple of weeks ago - far more conducive to being inside painting, than outside painting...


....and the other side (next) finished a couple of weeks ago - I've left the bolt heads exposed (grab rails/windows/deck cleats) as there is nothing worse than having to remove something bolted down, where some numpty has painted over the thread... 


Apologies for the pictures in this post by the way - phone camera...

On Sunday, with the sun still shining it was on to other items - started by putting on another coat on the bottom washboard (job #8) and leaving that in the sun to dry...  cracked on with some other jobs and it was dry enough that I whacked on another coat later in the afternoon...  one more should see it done..
Major job of the afternoon however was to get the new cockpit hatch covers on (job #9) - at least that was the plan...

First one done...


The black stuff is a self adhesive neoprene rubber tape - hoping it will make me a little more weather proof...  touch up required to the area round the nuts where I got over enthusiastic with a spanner...


Major concern for me was placement of the hasp which in the end was simplicity itself - just held it with a blob of butyl tape having bought down the lid on top - four screws and job was good, then did the same for the locking piece...


..the bit the padlock goes through twists 90' so you can secure the hatch that way too...

Please with that, I was just about to start the second one when a friend from work wandered past and asked if I needed any assistance..  "yes please", quoth I....  it was time to get the old jam cleats off (job #19) and I needed someone on the outside to hold the head of the bolts with a screw driver while I completed the job from below with a spanner....

What an almighty balls'ache they turned out to be - threads all full of old sikaflex or sealant so they were a mighty pain to get out even though there were only two bolts still to do each side....

Happily I managed to get a half cm undone on each one and that was enough for me to tap them up from below, and then grab the head with a pair of molegrips so that friend could get off and do what he wanted to do...

Three bolts removed but the last one was a bas**rd, and in the end I hacksawed the head off and punched it through....

So this was what came off - the big bolt at the back goes through the jammer, and then through the pillar, to be fastened under the deck...  the jammer is hollowed out underneath to take the spring, which all looked tired on mine - one of them had snapped...


From this....


..to this on both sides (after a scraping, and then rub down with some 1500 grade wet and dry)....  fascinating to see what 48 years of general wear has done to the original gel coat compared with the protected stuff underneath the fitting, you can clearly see the lip...

Note also the central indent - presumably some of the boats came with winches and I assume that's for them...

Trial fit of the new swivel type jammers - following - I'll re-use one of the original holes (the forward outer on each side) but will have to drill two new holes for the other fittings (underneath the swivel in the following) - once again I'm going to need some assistance to finish the job as I'll need someone to secure the head while I bolt them down...

The remaining holes I'll fill longer term (when it gets warmer) but in the interim I'll weather proof with a nut/butyl/bolt combo...


Progress indeed!
  • On a separate note - the new VHF aerial has arrived - that will go on the pushpit board once I've finished rubbing it down and giving it a coat of something protective...
  • I've taken delivery of a new work bench - only a cheapy, but I wish I'd bought one years ago..

Monday, 16 March 2015

Job #5 - Paint cabin / Job #8 - Washboards / Job #17 - Outboard / Job #22 - Pushpit board

Cold wet grey and miserable with a brisk breeze round the trossocks, but progress is being made... (if I had a lottery win I'd put Sparrow in a heated factory unit for the winter, but I haven't, so.... tough.... 😏)

First order of the day when arriving was to get a swift first coat on to the bottom washboard (needed to be touch dry before I left) - the following is from last season (didn't have my camera with me yesterday) and the culprit is the bottom board. The paint has flaked badly in the 18 months since this was taken exposing at least a third of the wood to the elements...  it's been dry'ish the last few weeks so I decided to get on with it.  Scraped off the loose with a paint scraper, sanded down the rest, and managed to get the first coat on and drying while I got on with other stuff - I plan on at least three coats - maybe more..


Once that was done - and with signs of incipient rain - I decided to move to the cabin to complete the paint job - apologies for the quality - these are off the phone..


Either way - sugar soaped the entire side, wiped down, had a pint of 49'er while it dried (cracking pint!), and then a coat of the white on - can't believe how much better it looks..


Very pleasing... this is the side I'd already done


Must tighthen up those curtains some time..


Once that was done, I moved on to the pushpit board - this is it (from last summer)...  now I don't propose to understand why this is there (it was on the boat when I got it) and it is invariably a talking point, but having got it I wouldn't be without it... it is ideal for resting against when steering, it's going to be a good spot for the solar panel when I get it, but best of all it is in just the right place to rest your chest on so you can use both arms when wrestling the outboard in and out of the scoop...  either way you can see the issues starting back then ...


..and here.. worn varnish => water ingress => mildew...


...I'm not proud, I know I could treat it with oxalic to get rid of the staining but that's too much of a faff.....  so I've bought it home, and I'm going to rub it down to the wood, and then slap 3 coats of exterior wood stain on it...

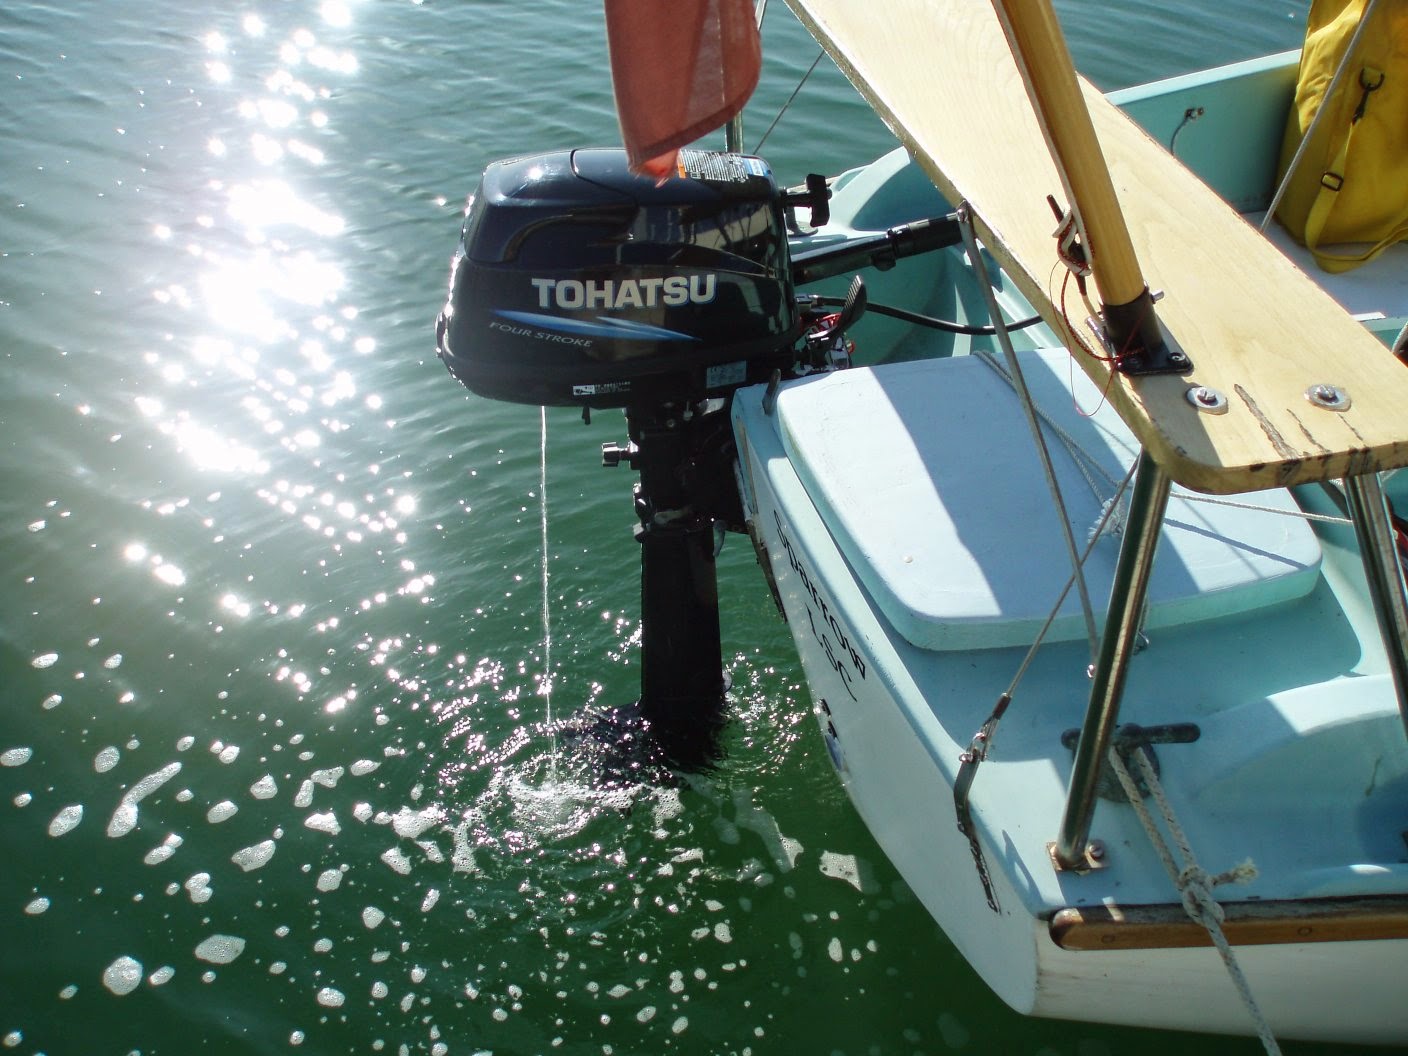
...last of all - the outboard is in for a service...