Ships log for the yacht "Sparrow" an Ian Anderson designed 'Hurley 20', sail no. 109, launched 16th November 1967. This is the day to day stuff involved with owning and sailing a small boat, so nothing earth shattering but there'll also hopefully be some adventures along the way..
..been in by now, but here she is still sitting in splendour in the car park at
the club! 😏
About four boats in, on the first day of the lift, the hoist developed an
issue; one of the lifting wires was fraying. All further launches were
halted/postponed while the team went to work trying to find some replacements so
my launch was one of the casualties.. no worries, it is what it is,
and these things will happen - happily no people or boats were hurt so it's a
win win, most of the guys who were going to launch have just found further bits
of work to do on their boats!
I was no different so the following is now done,
having assumed I was going in, I have 5 litres of fuel on board
the engine is on - with lock
I took the opportunity to fit the new Windex - a thing of shiny beauty
that will probably last all of 5 minutes 😏
I've got the tender ready - she's now sitting upright following a
winter upside down
..then last of all, the traditional very last job, it was time for harbour
plaques to go on!
That's it - I'm calling the winter maintenance over, done and dusted - I am
more than ready for launch if only for a rest! 😁
Postscript: the hoist really needs both wires changing but our supplier only has one in stock which will arrive Monday - the guys think that will be enough (there's a 4 week delivery for the second one!) and they can bodge a solution with some heavy duty straps to at least start the launches going again - just waiting on the word when I need to make myself ready.. 🤞
I've bought the tiller home with me to sand down and varnish in the
comfort of the garage - didn't take a before picture unfortunately as it
would make an excellent tutorial picture to show how not to maintain a
tiller - this is the best I can do and dates to end of last season
add on 6 months of outside in winter and you have a good idea of how
bloody awful it looked..
Post rub down..
Post nine (maybe 10 😏) coats of varnish..
That'll do, pig... 😀
Sparrow needs a damn good wash - it's been a wet, wet, winter and she's
showing a lot of green - DONE/CLOSED
Cockpit filth removed... for now..
Plus a wash down outside, a couple of hours with some extra fine wet and dry (to remove all the bump and scuff marks from the tender last year), and then an Oxalic wash along the water line and other area's of staining - cleanest she's been since this time last season..😏
The Windex needs to go back on, but that's a last minute job, maybe even
on the water to avoid it being damaged during launch
Cockpit hatches need to go back on - DONE/CLOSED
Before.. what a grub... for shame... 😏
After.. note bottom left of the lower wash board - that's what got
the item added to next winters maintenance schedule..
Tender needs to go back to the club - DONE/CLOSED
The mooring tackle needs to go back on the buoy - managed to get a lift
out to the mooring on the club launch - DONE/CLOSED
Outboard pad needs replacing (job #10) - old and rotted ply (which was
always considered to be sacrificial due to the crap'ness of the ply and
was installed in 2021) was replaced with a double thickness of
high-density polyethylene chopping board - rot proof and maintenance free.
Got the biggest one I could find but it was a couple of inches shorter in
width, but no matter - she's bolted in, sealed around the edges, and when
I get a moment I'll tidy up that staining at the corners to tidy up the
installation. I have a square of 3mm aluminium plate for the inner edge of
the well, but intend to leave that unattached - the outboard clamps will
hold it in place.. DONE/CLOSED
Transom time... and here's the scene of the crime...
"Fledgling Too" (for that is her name) has a most unusual (but solid) construction.. a hardwood full length encapsulated keel (as we found when I repaired the bottom) and the gunwales are made from lengths of pre-bent, and then welded, steel pipe, encapsulated again in GRP. Strong and robust but you need to keep on top of your maintenance as one crack in the GRP and the water gets in, and the soft steel pipe becomes toast within years, especially in a salt water environment.. and so it was in this case. The rest is good, but the transom gunwale is a massacre scene..
First job was to find out how much of it was still sound, and then start cutting out the rubbish.. it basically turned out into two repairs, the bigger one on the starboard was the first to get attention.. my plan was to fill to get shape and then epoxy cloth over the shape to strengthen and seal..
First step find something that mimicked the steel pipe shape - in this case an old broom handle - cut to size, clamped, and then fixed in place with the trusty two part filler..
Clamps off, first sand, ready for some more filler..
Ports side was better - the pipe is sound either side of the rot..
Cut it out to clean (with an angle grinder)..
Piece of broom handle cut to size and fitted, next step was to fill round the edges, sand to shape, and then get both repairs ready for epoxy and cloth..
More on this anon..
..and separately, the outboard has had it's 20 hour service - it was a stupid
price, but job done, warranty maintained, and it's ready for the new season..
Time for an update on the cryptic comment re. the "engine front" a few posts ago.. bit of a giveaway in the following...
..😁
The elderly Suzuki developed an oil leak last year which I had addressed over the winter (a new sump gasket and sealant) but there is still a slight leak, and given the venerable age of the engine (think it's a 2007?), it's overall condition (not brilliant as it lived in an outboard well for number of years), and also the general issues I have also had with revs and idling this year, I decided to give myself a retirement sailing present ==>
Tohatsu long shaft four stroke ('natch) 6HP Sail Pro version.. that model chosen as it was the one I had before the Suzuki, you may remember it as the one that was stolen [clicky] - always loved it, and the Sail Pro thrust was noticeably better than the Suzuki (less revs same speed)
Price was, I thought, very reasonable (just shy of £1400) and included a new external tank and fuel lead.. I shopped around, but in the end bought it from a local dealer as it means I can maintain warranty more easily - they'll do servicing.. first service is due after 20 hours, which may just be long enough to get me to the end of the season (I don't use her that much).
Picked it up a couple of days later, and what a thing of beauty.. 😍
Looks black, but in direct sunlight it's a very dark purple colour (the lady in the shop said it was 'aubergine'.. 😀🍆)..
Time to make it less shiny before I put it one the boat though.. I'm going for an "under achiever" look so a coat of paint on the leg would make her look not quite so new, and not quite so shiny or attractive....
Started masked her up..
Taped all bolts and openings
Then two coats of grey epoxy primer..
If it works as camouflage for the Royal Navy's ships, it's a good enough colour for me.. 😀
Done.. on the boat it will have a full strength, barrel type, outboard lock (it's a Fulton), and I will be bringing the engine cowl home with me each time I'm away from the boat - I use a Ducks Back soft cover..
I work on the assumption that the lock, and the fact that they would also have to source a new cowl will make them go away and look for easier pickings.. but we shall see... 🤞
Took the old engine off a few days before I picked this one up, so that is now home and in the garage - that will be going on eBay. The fuel in the tank was put in the car, the new engine and fuel tank had 5 ltrs of fresh "Super"
I moved the new one to the boat yesterday and lifted it to and from the boat the same way I took the old one off, using the boom as a crane, and the main sheet as the lifting tackle - very easy, and very pleasing.
Having secured it I, of course, had to fire it up and check she was OK, all started very smoothly -adjusted the leg angle a notch (Sparrows transom is curved inwards).. and SO quiet!
I'd had a text message from one of my mooring neighbours, to say that it
looked like my engine cover was missing, but as the weather was glorious, and
we finally had a workable high tide (neither of which has coincided in the
intervening period) it seemed opportune to strike while the iron was hot and
go out and check. This would also give me an opportunity to see if the drain
plug I'd fitted to the new (to me) tender was not leaking..
Quick launch and row to the boat and I was on board by an hour before HT,
pleased to find that the soft engine cover I use was still there, it had just blown
off to the side in the recent wind we've had. First order of the day then was to
get the genoa on.
I'd been reading up on rigging tips over the winter, and it would appear that
last season, by a process of elimination (sheer luck to be honest.. an
infinite number of typewriters in front of an infinite number of monkeys,
etcetc 😏) I had managed to twig that the success to easy roller furler
adjustment is nothing other than not overtightening the luff once it's in the
track... the foil holds the luff, so you really don't need to tighten anything
else - the line at the bottom of the luff is used only to hold the foot from sliding
up the foil under wind pressure, not to tighten it.. that way the swivels at top and bottom of the foil are not under pressure/stress so rotate more easily. Fed the genoa in to
the track, good pull when it gets to the top to get the maximum sideways angle
from the halyard diverter at the top of the mast, lashed it off finger tight
at the bottom, and it rolled away sweet as a nut. 👍
One other thing I am experimenting with this year is the genoa sheets...
I am always having to manually feed the sheets through the blocks when I tack,
and I think that basically that is because the sheets are too "heavy".. with the replacement of the halyards though, I had one (the old jib
halyard) that was the right length so I have swapped over to that...
the halyards were 6mm so is more than strong enough, the only question
will be whether they hurt the hands when it's blowing... time will
tell..
That done it was time to move on to the engine which to be honest I really
wasn't looking forward to, but if I'm to go sailing then a fix was required..
My angle of attack today was three-fold, and in the first traditions of
bodge'ry... as a reminder though symptom was running at high revs in idle, unable to drop the
revs at the throttle... first then I fired up the engine and confirmed the same issue was still present.
Plenty of people had mentioned that the idle jet might need cleaning - there
are two jets in most carburettors, the main jet is within the body of the
carburettor itself and only accessible really by removing the whole carb and
disassembling, but there is also an idling or pilot jet, which (thanks Mr
Google) "controls the fuel level when you're at idle to roughly 20% throttle.
The jet [main] needle controls the fuel level when you're between 20% and 80%
throttle". I've read various articles and watched various YouTube "how to" video's that indicate my symptom can be attributed to a blocked needle..
More importantly though, the pilot jet is a damn sight easier to get
to.. this is it...
..and this is it in my actual engine.. the one circled at bottom in the
following... before I touched that though, I first had a play with the
throttle cable (ringed at top in the following) as I'd noticed that by
manually adjusting it I could get the revs to drop slightly. Undoing the
small grub screw allowed me to ease the throttle cable, but no significant
difference in the revs, so on to the next step, the pilot jet...
You'll notice it has a simple flathead screwdriver slot, and a hole in the middle.... I unscrewed it, pulled it out, and it looked like that one top left except mine was not as shiny, and on mine, the central pilot hole looked to be blocked. I say "looked" as it's difficult to tell as the hole is very very fine. |Everything I have read/watched indicates it is NOT a good idea to force anything in to clear obstructions as these things are made to fine tolerances, but I have an aerosol carburettor cleaner on board, so gave it a good spray with
that. I was missing the fine nozzle I think I need to actually direct
the stuff direct into the jet, but, I persevered and then reattached and
fired her up and results were very promising - it certainly wasn't idling like that that before the clean..
The jury is out, we'll see whether this is a permanent fix, but I am happy with the results at this stage. When I go out next time I'll take the fine nozzle for the aerosol and give it a spray through with that - other people have also suggested soaking in acetone for a few hours first.
The good news then is that I think I may have completed those start of season jobs, but time will tell on #3... and the drain plug?? Not a 100% success but I'm putting it down to not
screwing in the plug hard enough.. 😁
Sailing with the Jolly Boys Friday - beer, banter and pork pies will almost certainly feature..
Progress being made on a number of fronts.. which is just as well given
launch date is a mere 4 weeks away... 😏
Item 12/. "The minor shackle between swivel and pick up chain is old and
needs replacing - I'll take the opportunity to end for end the chain at
the same time"
Decided to do the minor shackles at both ends of the mooring chain so got
those, and while I was about it I picked up a new major shackle (goes
between buoy and swivel) too...
Can for scale... new chunky, shiny, loveliness...
Item 9/. "I think I also want to do something about the curtains, which
have been UV'd to death.. Bungees replaced so they no longer sag but
curtain replacement will have to wait until I get a sewing
machine... hand held sewing machine obtained as an experiment - time
to see if it will cut the mustard.."
The hand held sewing machine was a total waste of space I'm afraid, but
you live and learn..
Don't waste you're money
Quite a clever machine but not even powerful enough to sew a hem in the
very thin material I was using for the new curtains, so I hunkered down
and hand sewed them...
The old one's are way beyond the pale... the mother in law ran these
up for me in 2013 when I bought Sparrow, so what we're seeing is 10 years
of UV and a dry/damp salt atmosphere... you can see the
original pattern but mostly they are bleached white (or a grubby grey)
I washed them a few years ago but it didn't do much... 😁
...and here's the new one's.. material sourced on Amazon for about
8 quid.. chosen purely for cost, and that they are quite
cheerful..
...all six ready to go back up (2 per side and 2 at the front)..
you can see the wonky seems from the hand sewer on this one -
abandoned that soon after... so they aren't going to win any
sewing prizes, but given the primary purpose is security (keeping
prying eyes out), with a long second of keeping the sun out, then
they'll do nicely.. all I need to do now is replace the bungee
they hang on and jobs done
"Service outboard (fix oil leak)" - done, but not without some
issues.. my usual "go to" outboard engineering shop - Emsworth
Outboards - have gone out of business (great shame..) so I asked around
for some recommendations, and one of the guys on the Practical Boat
Owner web forum recommended a guy that used to work for them, but left a
few years ago.. South Coast Outboard Servicing [clicky]. Can't complain at the turn around - he took it away and it came back
the next day, and that was after he'd ordered spares to repair the oil
leak issue - which turned out to be a leak through the sump
gasket. So.. engine serviced, and sump gasket replaced...
we should be good for another season - I also found out the
engine dates from 2007/8, so only a sprightly 15 odd years old..
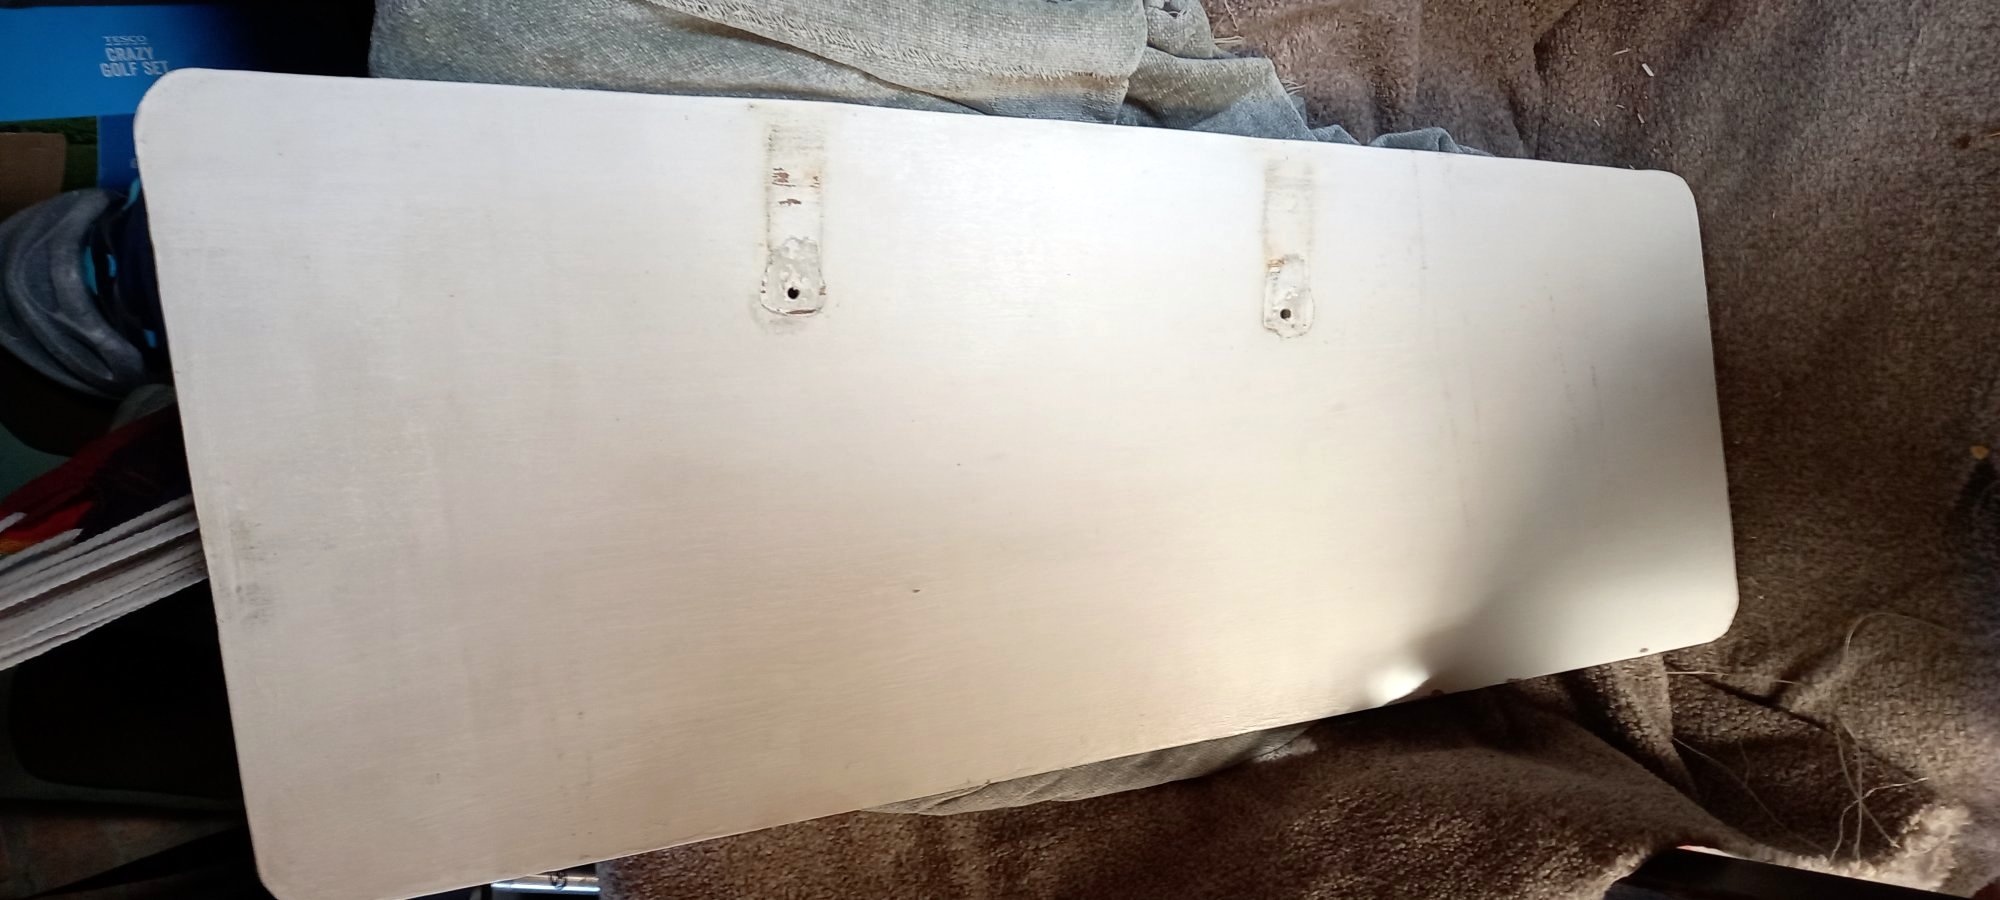
"Rub down and coat of paint on cockpit locker lids / wash boards (as
needed)" The locker lids on the whole are doing OK, but I noticed at the
end of last season one of them was showing signs of splitting on one
corner, and there were also some hairline cracks in the outer surface
which would be perfect for syphoning in water if left untreated..
Rather than leave them on the boat to suck up water all winter, I took
them off, and then bought them home to dry out before initiating any
repairs.. I have a couple of old ones that I covered in plastic to
replace them with temporarily.
Couple of weeks of drying out and I gave them a good sand down with an
orbital sander before filling the hairline cracks (and cavities behind
them.. 😒) with an epoxy silica paste.
I used some thin plastic sheet to push the same down between each of the
layers on the corner and clamped it...