Showing posts with label Winter maintenance 22/23. Show all posts

Sunday, 23 July 2023

Completed job list '22/'23 lay up..

By way of record keeping, and to remind me in the future - here's the completed job list from the winter layover... the layover this year was a little longer than usual as I opted for a slightly later lift in due to poor weather shortening the original lift period. As a result I got more stuff done than I would usually..  have to say it was also nice to be doing maintenance in good weather for a change!
  1. I finally managed to get round to fixing the damage to the nose that had occurred under a previous owner. I'm guessing this was anchor chain damage, and that at some time the chain had jumped from the fairlead and then spent a while grinding away GRP. Either way it needed a rebuild and as is my want I was seriously overthinking what I needed to do which was putting me off from doing anything - always a mistake..  In the end I purchased some 2 part epoxy putty (Milliput) and it is now my official wonder product of 2022 - amazing stuff.. job done!

    Reminder of how it looked - note the small lump of Milliput as I had just started to fix it...


    I was using the White Superfine version..  it's a two part epoxy putty that when kneaded together for 7 minutes, can then be moulded, worked and shaped like putty or plasticine, but it dries rock hard within 3-4 hours... No preparation is required as it also has adhesive properties, though I gave the surface a quick wipe down with acetone.. better still this stuff can be worked and smoothed with water - so the following is mid stage...  rolled a tube of Milliput between my hands, then placed and shaped fairly roughly, before then wetting your fingers (I had a cup of water handy) and smoothing it out...


    It also has other applications... as I had a small ball of it left over after the nose repair, I tried it on some old screw holes; roll a thin tube of it, pushed that into the hole and smoothed off the outer edge with a wet finger. Similarly, small surface gel craters/gouges can also be treated same way, take a small piece, press it flat, and then place that in the crater, before pushing it in hard, and then smoothing off with a wet finger. All of these had dried rock hard when I checked, and all were well stuck. Brilliant stuff, and very much recommended..

  2. A smooth off of her bottom - no idea how many years of antifouling paint on top of antifouling  paint there is down there, but while it's not falling off it isn't smooth either, so a sanding pole with some mesh and a bucket of water is planned... I bought some 60 grit sanding mesh this year, as the stuff I used last year was too fine a grit (120) and was only doing a partial job, but either the stuff I bought was rubbish, or it was too coarse, but either way the experiment was an abject failure. I wondered if the antifoul had dried out too hard over the winter as the 60 grit was just skidding over the surface rather than biting, but when I went back to the old stuff it was working fine so I have a suspicion the stuff I bought is rubbish. No worries a couple of hours with the old stuff and she was a little smoother, still looks like the surface of the moon in places..  I'd really like get her soda blasted and taken back to surface, but we shall see. Either way I'm calling this one done for this year..

  3. The gel coat on Sparrow is original but is getting thin to non-existent in places - I will not paint her (that way lies madness), but I do need to stop further UV damage to places where it is thin - in fact, I've got about a half dozen spots where the gel coat is so thin that the underneath (GRP/matting) is beginning to show as a brown layer..  I masked off three or four of these, and with the paint I'd roughly colour matched for the  the nose repair (above), lightened it up a bit more, so the difference wasn't quite so marked, and put a couple of layers on...  so it's not perfect, but it is better than it was, and I am going to call it more of a success than Elon Musk's recent rocket event...  this has continued to work well with no pitting/cracking or flaking so I'll do the rest over time, but I would like to get a better colour match so I think I need a trip to the DIY store soon for a colour chart.


  4. Cabin curtains - the old one's were way beyond the pale (literally 😁)...  the mother in law ran these up for me in 2013 when I bought Sparrow, so what we're seeing is 10 years of UV plus a dry/damp salt atmosphere...    you can see the original pattern but mostly they are bleached white (or rather a 'grubby grey')


    I washed them a few years ago but it didn't do much good... 😁


    ...and here's the new one's..  material sourced on Amazon for about 8 quid..  chosen purely for cost, and that they are quite cheerful..


    ...you can see the wonky seems from the hand sewer machine* on this one following - abandoned that soon after and sewed them by hand the old fashioned way...  they aren't going to win any sewing prizes, but given the primary purpose is security (keeping prying eyes out), with a long second of keeping the sun out, then they'll do nicely..  


      Here's them on the boat..


      I have to say that despite the piss poor sewing I'm quite chuffed with them...  took the opportunity to replace the bungees they hang on at the same time. Security and shade in one fell swoop..

      * Quite a clever little machine but not even powerful enough to sew a hem in the very thin material I was using for the new curtains, so I hunkered down and hand sewed them...


      Don't waste you're money..
    • Centre mast support needed trimming - was slightly too long for the current configuration. that's it, supporting the middle of the mast...

    • Mooring tackle updates:

      1. Swivel was new 2016
      2. I 'end for ended' the chain (bought 2016), swapped it round so the old end is new beginning and vice versa
      3. Replaced the pick up buoy itself  with a spare I had in the garage
      4. New shackle between buoy and chain
      5. New shackle between chain and swivel, and ..
      6. But despite best intentions the shackle for swivel to mooring buoy is original (I went out in the tender in a a "sprightly" F5 gusting F6 to attach the top chain and pickup buoy to the mooring - tide was running like a bastard, the wind was from the east - so on the nose - and I got well and truly soaked, but while doing it the pin from the new mooring shackle slipped out of my fingers (oh my God, how I cursed) - stupid, stupid schoolboy error, but I paid for it as I had to row back and get a spare shackle, and then battle out again - so serve me right..😆) I'll upgrade it next year ...

    • Fresh coat of bilge paint applied throughout

    • Running rigging replaced - topping lift/jib halyard/main halyard 

    • Not on the list this year, but I thought I'd giver her an acid wash as the water line was looking a bit brown, stained and dingy Once again the Oxalic proved little short of miraculous ..  amazing stuff..  mixed it with some wallpaper paste to give it a little stiffness, in warm water, slapped it on all over, left it 10 minutes, and then lots of rinsing later, and the difference between before and after is astonishing..

      That's Oxalic run off on her bottom, so definitely a job to do before you antifoul rather than after..  😀

    • Then last of all for this update - I have a new tender (😏). I'm even more chuffed with this, than I can say. I was, on the whole, fairly happy with "Fledgling" - the old tender - but she had a low freeboard, was surprisingly heavy, and was also small - any more than one adult and it all becomes a little trepidous (as we found out last autumn [clicky]) so I have had an idle eye open all winter for a possible replacement.

      One got washed up on the slip at the club over the winter, no owner has come forward, no identifying marks, so I was giving her an eye over as a possible replacement when one of the club guys mentioned that there was another one in the yard available for free as the owner had swallowed the anchor and given up sailing completely.. so meet new tender.. she's solid, lighter than the current one, strong, has a better freeboard, and I've already taken loose paint off (wire brush in a drill), washed out, put new rowlock sockets on and swapped over locking chain from old tender, drilled a new bung hole.. plenty more to do on her but she's been brilliant so far, and she rows well too!


    Regular/annual items:
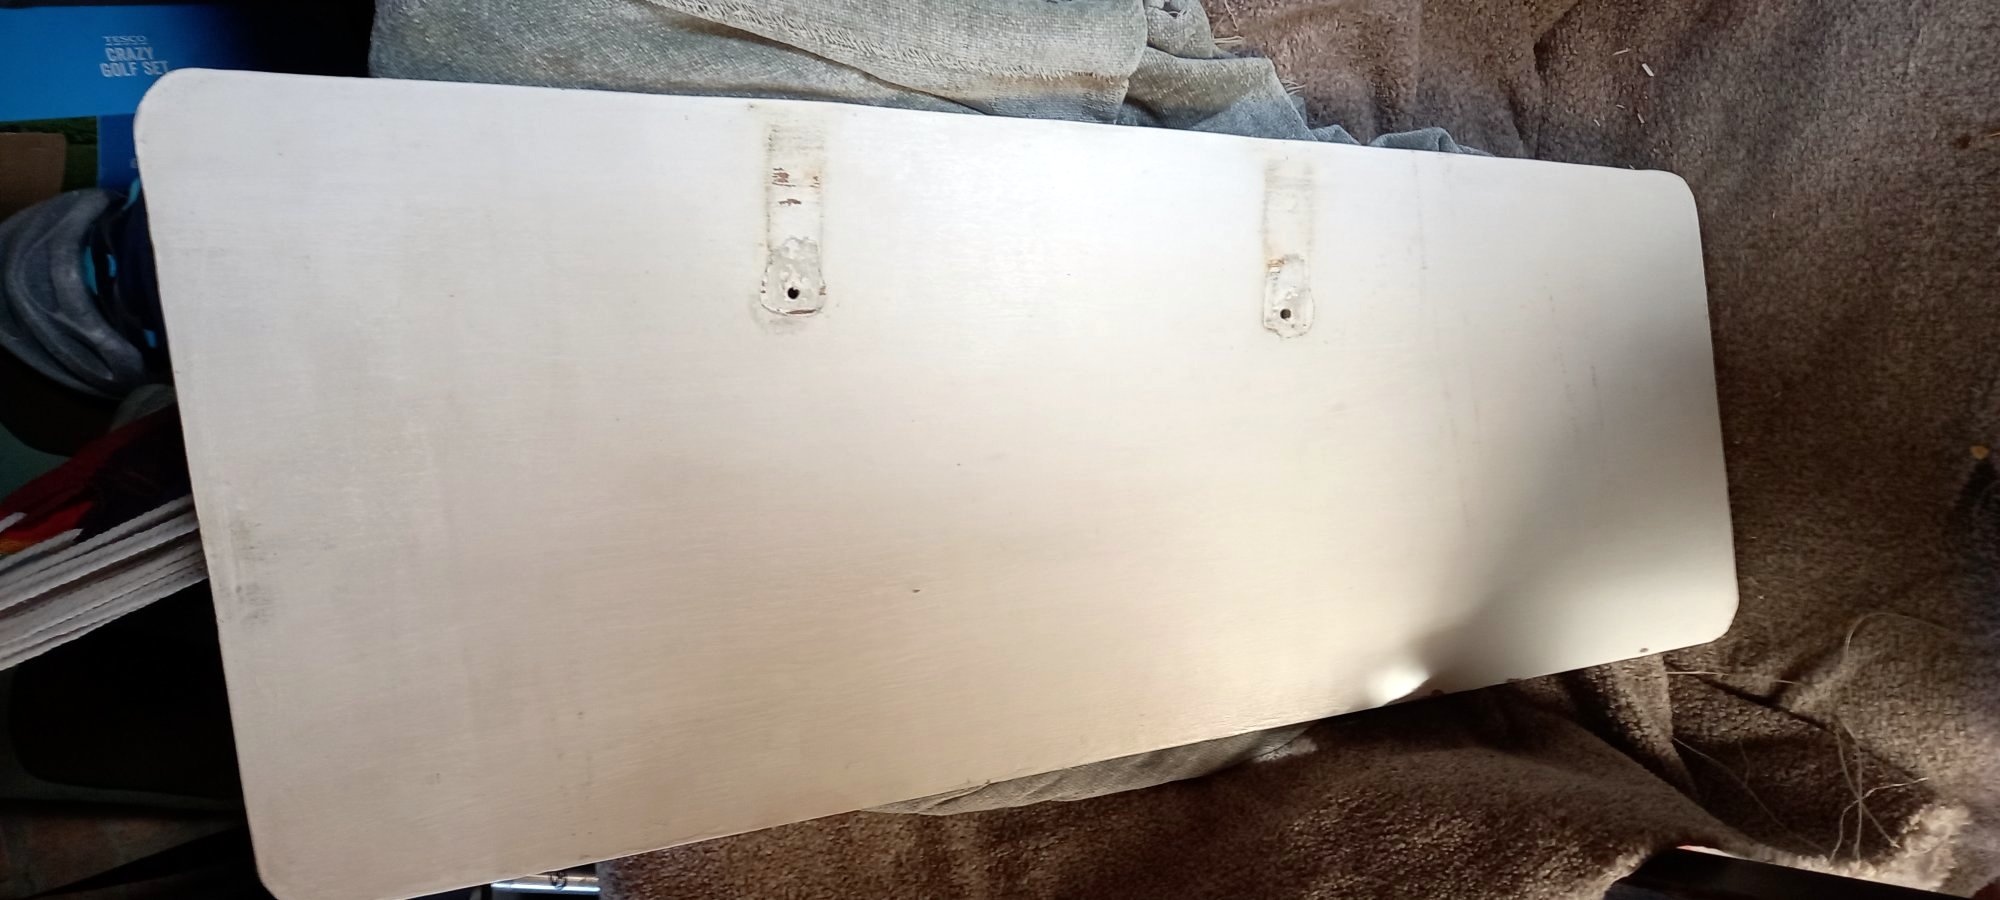
    1. Rub down and coat of paint on cockpit locker lids / wash boards - locker lids sanded, filled, clamped, sanded, painted... just washboards were OK at the time but will need doing before end of season.
    2. Rub down and coat of wood preservative on rubbing strakes / cockpit board / outboard pad / hand rails (as needed) - all were done
    3. Antifouled (Hempel Cruising Performer this year)
    4. Serviced the outboard (also to fix oil leak) - service was done but the fix was not a good one, and the outboard has now been sold/replaced.
    5. Serviced Life Jackets (new bottle in one of them this year)
      1. Pressure washed her bottom

      Saturday, 22 April 2023

      Feeling tender, or "love me tender"...

      Love me tender, love me sweet
      Never let me go
      You have made my life complete
      And I love you so
      "Love Me Tender" Elvis Presley

      Cutting to the chase, Sparrow's in, but not before a whole load of other stuff first happened..

      Job #5 - previous GRP damage to nose needed a rebuild - done after 10 years... epoxy putty (Milliput) is my new wonder tool..

      From this..


      To this...


      To this...


      Not the best colour natch despite having it made up especially at the local hardware emporium.. 
       

      ..but I am nonetheless chuffed to nuts with that.. and as I also had some left over from the nose job I also made a start on ....

      Job #8 "The gel coat is original but is getting thin to non-existent in places - I will not paint her (that way lies madness) but I do need to stop further UV damage to places where it is thin"

      I've got about a half dozen spots where the gel coat is so thin that the underneath is beginning to show as a brown layer..  I masked off three or four of these, and with the paint from the nose, lightened it up a bit more, so the difference wasn't quite so marked, and put a couple of layers on...  it's not perfect, but it is better than it was, and I am going to call it more of a success than Elon Musk's recent effort...


      I'll finish off the rest over the course of the summer, but would really like to colour match the paint a bit better..

      The rubbing strakes, outboard pad and cockpit board got a rub down and a coat of wood treatment, I also did the the block that holds the camcleats on the cabin roof and also the handrails. I then gave all the hatch covers refresh of the masonry paint I use to provide a non-slip surface. At this point maintenance was confirmed completed, and this years harbour sticker attached..  😀👍

      On the Tuesday of this week I went out in the tender in a a "sprightly" F5 gusting 6 (😏) to attach the top chain and pickup buoy to the mooring - tide was running like a bastard, the wind was from the east (so on the nose) and I got well and truly soaked but job completed despite losing the pin from the new mooring shackle (oh my God, how I cursed) - stupid, stupid schoolboy error, but I paid for it as I had to row back and get a spare shackle, and then battle out again - so serve me right..

      On the Wednesday I worked on lift in, and then it was Sparrow's turn to launch on Thursday, but not before having to fix the tractor, that had just had a major fubar when for reasons we still can't quite work out, while turning, it caught and then ripped out all 6 hydraulic hoses on one side of the lift..  no idea how it happened but happen it did..  so with new hoses attached, and hydraulic fluid topped up, launch recommenced..


      Launch was 'largely' OK..  because of the delay caused by the hoses I had a wet launch (direct from the slings on the hoist), but despite having had the outboard serviced over the winter, when I started her, although she fired up sweet as a nut, she was really racing and I couldn't drop the revs at all... prognosis is probably blocked idle jets in the carb...   😒 

      Good news however, is that she's on the water..  and I'll fix the engine, and 'all will be well'


      Friday I was back on the lift in crew, but also got my induction/sign off to use the clubs 16' work boat "Mylor" - it only took 5 minutes as they were short of people, but I had the best day throwing this little thing around, and it means that I can now use her whenever I have a need and she's not being used elsewhere - it will make getting the Jolly Boys out to the boat for the mast lifts/drops easier for a start - I can also use her to bring the engine back to shore for the inevitable fix..so definitely a thumbs up..


      Then last of all for this update - I have a new tender (which may explain the post title 😏). I'm even more chuffed with this, than I am with the signoff for "Mylor". I have been, on the whole, fairly happy with "Fledgling" - the current tender - but she has a low freeboard, is surprisingly heavy, and is also small - any more than one adult and it all becomes a little trepidous (as we found out last autumn [clicky]) so I have had an idle eye open all winter for a possible replacement. 

      One got washed up on the slip at the club over the winter, no owner has come forward, no identifying marks, so I was giving her an eye over as a possible replacement when one of the club guys mentioned that there was another one in the yard available for free as the owner had swallowed the anchor and given up sailing completely..  so meet new tender.. she's solid, lighter than the current one, strong, has a better freeboard, and I'll start working on her tomorrow or Monday..  loose paint off (wire brush in a drill), wash out, new rowlock sockets and swap over locking chain from old tender, and she'll be good to try - brilliant...  

      Thursday, 23 March 2023

      Think we're ready...

      ...well, as ready as I'll ever be..

      Not surprisingly I guess for the end of March, the lift in week has been hit with a succession of spring equinoctial gales, with most of this weeks lifts cancelled, and shifted out to the coming weekend. We were due to lift all week, with Sparrow going in this coming Sunday, but as it turned out only Monday went ahead as planned, and Tuesday with a reduced number of boats, before strong winds and rain as forecast came sweeping in off the Atlantic..  F5 or 6 gusting F7 and SW'ly for most of the week and clearly not safe for people or boats.

      So it was that in between the showers (for what I was doing, wind is no issue, it's rain I don't need) a number of other things have been completed this week...

      1/. The boarding ladder is back on..

      2/. Job#12 is done...   "The minor shackle between swivel and pick up chain is old and needs replacing - I'll take the opportunity to end for end the chain at the same time". 
      1. I've 'end for ended' the chain, swapped it round so the old end is new beginning and vice versa
      2. Replaced the pick up buoy itself  with a spare I had in the garage
      3. new shackle between buoy and chain
      4. new shackle between chain and swivel, and ..
      5. new shackle for swivel to mooring buoy
      I'll upgrade the swivel next year 

      3/. After 10 years (😨), job #5 "Previous GRP damage to nose (still) needs a rebuild" is 90% done..

      Reminder of how it looked - note the small lump of Milliput as I had just started to fix it...


      The damage occurred under the previous owner, and I think happened because of a mooring chain jumping out of the fairlead during a storm or bad weather, and then the chain had just graunched gel away over a period of time..  that's my guess, anyway..   

      ..either way, 10 years down the line it was long over time to fix it. The product I had chosen to use was a new one to me, though I was already aware of it from my other hobby [clicky], and I have to say "Milliput" is bloody amazing stuff... 

      I was using the White Superfine version..  it's a two part epoxy putty that when kneaded together for 7 minutes, can then be moulded, worked and shaped like putty or plasticine, but it dries rock hard within 3-4 hours... No preparation is required as it also has adhesive properties, though I gave the surface a quick wipe down with acetone.. better still this stuff can be worked and smoothed with water - so the following is mid stage...  rolled a tube of Milliput between my hands, then placed and shaped fairly roughly, before then wetting your fingers (I had a cup of water handy) and smoothing it out...


      ..then this morning - a couple of days after the above, I went down and sanded it off to get a better shape, ready for painting (though I believe this stuff my be UV stable, so that is not urgent, but I will do it soon)


      ..I am absolutely delighted with this...  been putting it off for years trying to figure out how I could use more traditional epoxy resin, if only I'd come across the stuff sooner..

      It also has other applications... as I had a small ball of it left over after, I tried it on some old screw holes, roll a thin tube of it, pushed that into the hole and smoothed off the outer edge with a wet finger. Similarly small surface gel craters can also be treated, take a small piece, press it flat, and then place that in the crater, before pushing it in hard, and then smoothing off with a wet finger. All of these had dried rock hard when I checked, and all were well stuck. Brilliant stuff, and very much recommended..

      4/. The bilge stringer got its coat of epoxy spray primer..

      5/. The cockpit locker lids are back on after a winter in the garage - I'll do the same again this coming winter, so will knock some spare covers up during the summer to use in their place..

      Just fuel for the outboard, put the outboard on the back, quick wash of the cockpit and a row out to put the mooring chain on the mooring, and I'm good to go in...   roll on Monday...

      Friday, 17 March 2023

      More ticks than a mangy dog..

      Yup - time for another one of those "more ticks" updates.. funny how they always appear just before launch date.. 😏
       
      7/. A smooth off of her bottom - no idea how many years of antifouling paint on top of antifouling  paint there is down there, but while it's not falling off it isn't smooth either, so a sanding pole with some mesh and a bucket of water is planned... 

      I bought some 60 grit sanding mesh this year, as the stuff I used last year was too fine a grit and was only doing a partial job, but either the stuff I bought was rubbish, or it was too coarse, but either way the experiment was an abject failure. 

      I wondered if the antifoul had dried out too hard over the winter as the 60 grit was just skidding over the surface rather than biting, but when I went back to the old stuff it was working fine so I have a suspicion the stuff I bought is rubbish. No worries a couple of hours with the old stuff and she was a little smoother, still looks like the surface of the moon in places..  I'd really like get her soda blasted and taken back to surface, but we shall see. Either way I'm calling this one done for this year..

      Not on the list this year, but as I'd just done a smooth off of the bottom and not yet got the paint rollers from Amazon I needed for the antifoul, I thought I'd giver her an acid wash as the water line was looking a bit brown, stained and dingy.

      Once again the Oxalic proved little short of miraculous ..  amazing stuff..  mixed it with some wallpaper paste to give it a little stiffness, in warm water, slapped it on all over, left it 10 minutes, and then lots of rinsing later, and the difference between before and after is astonishing..

      That's Oxalic run off on her bottom, so definitely a job to do before you antifoul rather than after..  😀

      While I waited for the oxalic to do its stuff, I applied Fertan to the bilge stringer - in these temperatures (typically 10'C'ish at the moment) it will need a good 48 hours to work, so the longer the better..  Once it's done it's stuff I have some spray epoxy primer to coat it with, and then I'll re-paint with bilge plaint - that's a job for this weekend/next week.

      Then yesterday it was time for the last big one of the maintenance cycle for this year - the antifoul. I've said it before, and I'll say it again, what a sh*tty, horrible job this is, though changes introduced over the last few years are making this a bit easier, and certainly a bit quicker..

      Masked... 

      As per last year I went with 6" rather than 4" rollers again, but I could only find foam ones rather than the soft pile I used last year - of the two, the soft pile are a better choice I think, they hold more paint but also the coverage is better on a slightly rough surface. The cardboard sheet idea from last year also re-appeared this year - one, it's more comfortable than the hard core surface of the car park, but two it's easy to slide around on for when you need to reach the inaccessible bits between the keels..

      1st coat on...

      Actually timed it this year, I've always wondered how long it took...  masking up took 30 minutes (worst bit is the compound curve on the stern), 70 minutes for the first coat (always takes the longest), cup of tea, and then about 60 minutes for the second coat and removing the masking (which by the way is the the finest job there ever was - from out of chaos comes order 😃)

      Second coat on, and masking removed..  job done! 😍

      Boats look the dogs nadgers with dark blue antifoul...  😀

      Packed up, tidied away, removed the copious spots of blue paint with some acetone (how does that happen?? I was fully covered, and had rubber gloves on, and still looked like a Smurf!), then wondered over to have a chat with Jolly Boy t'Other Dave who was just about to put his genoa on. Volunteered to give a hand, and within half an hour the genoa was up, and I was home and in the shower...  good day!

      Wednesday, 1 March 2023

      AmiLy launch and more jobs...

      So more progress being made despite the bitterly cold temperatures at the moment..

      Last week I got down to the boat and finished off Job #9, the curtains are actually hanging and I have to say that despite the piss poor sewing I'm quite chuffed with them...  took the opportunity to replace the bungees they hang on at the same time. Security and shade in one fell swoop..


      Also completed Job #13 - "Fresh coat of bilge paint required"...  I have the before pictures, which show the bilge in it's slightly tired state... 


      .. but you'll have to trust me when I say it's done, as last time I went down (two days after!) the paint was still drying due to the aforesaid Baltic temperatures... I still need to treat a few areas of rust on the keel reinforcements with some Fertan but I'm calling this one done..

      Not all hard work however, as in between the above, and laying 8 cubic metres of cement in the club yard on a work party, a minority of the team also got to put the first of the Jolly Boys boats back in the water...  AmiLy was launched yesterday! 😀🙌


      Going...


      Going..


      Gone..


      Gloriously sunny day, but so chuffing cold with a F4 gusting 6 northerly..

      While sitting on the pontoon in Port Solent, we did manage to get the sails back on though, which is a fairly major exercise involving multiple battens, stack packs, reefing lines and lazy jacks..  that completed though, it was bacon butties and tea while we waited for enough water to be able move her round to her usual berth on Whale Island.

      Having shifted a car down to the other end, we then pushed off and into the harbour for the first time this year...  it was good to be back on the water, but Lord above it was cold...  very, very, few boats about to orientate ourselves on, not much water (was still coming in), and the tricky winding channel out of Port Solent almost did for us, but 45 minutes later we were back..

      Safely tied up on the pontoon it was time for the obligatory large slice of Smithy's cake with tea before wending our way back to Port Solent to get the other car, and then home..  slept well that night! 😀

      Tuesday, 21 February 2023

      It's curtains for you.....

      Progress being made on a number of fronts..  which is just as well given launch date is a mere 4 weeks away... 😏
      • Item 12/. "The minor shackle between swivel and pick up chain is old and needs replacing - I'll take the opportunity to end for end the chain at the same time"
        Decided to do the minor shackles at both ends of the mooring chain so got those, and while I was about it I picked up a new major shackle (goes between buoy and swivel) too...
        Can for scale...  new chunky, shiny, loveliness...

      • Item 9/. "I think I also want to do something about the curtains, which have been UV'd to death.. Bungees replaced so they no longer sag but curtain replacement will have to wait until I get a sewing machine...  hand held sewing machine obtained as an experiment - time to see if it will cut the mustard.."
        The hand held sewing machine was a total waste of space I'm afraid, but you live and learn..


        Don't waste you're money

        Quite a clever machine but not even powerful enough to sew a hem in the very thin material I was using for the new curtains, so I hunkered down and hand sewed them...
        The old one's are way beyond the pale...  the mother in law ran these up for me in 2013 when I bought Sparrow, so what we're seeing is 10 years of UV and a dry/damp salt atmosphere...    you can see the original pattern but mostly they are bleached white (or a grubby grey)

        I washed them a few years ago but it didn't do much... 😁

        ...and here's the new one's..  material sourced on Amazon for about 8 quid..  chosen purely for cost, and that they are quite cheerful..

        ...all six ready to go back up (2 per side and 2 at the front)..  you can see the wonky seems from the hand sewer on this one - abandoned that soon after...  so they aren't going to win any sewing prizes, but given the primary purpose is security (keeping prying eyes out), with a long second of keeping the sun out, then they'll do nicely..  all I need to do now is replace the bungee they hang on and jobs done

      • "Service outboard (fix oil leak)" - done, but not without some issues..  my usual "go to" outboard engineering shop - Emsworth Outboards - have gone out of business (great shame..) so I asked around for some recommendations, and one of the guys on the Practical Boat Owner web forum recommended a guy that used to work for them, but left a few years ago..  South Coast Outboard Servicing [clicky]. Can't complain at the turn around - he took it away and it came back the next day, and that was after he'd ordered spares to repair the oil leak issue - which turned out to be a leak through the sump gasket.  So.. engine serviced, and sump gasket replaced...    we should be good for another season - I also found out the engine dates from 2007/8, so only a sprightly 15 odd years old..

      • "Rub down and coat of paint on cockpit locker lids / wash boards (as needed)" The locker lids on the whole are doing OK, but I noticed at the end of last season one of them was showing signs of splitting on one corner, and there were also some hairline cracks in the outer surface which would be perfect for syphoning in water if left untreated..
        Rather than leave them on the boat to suck up water all winter, I took them off, and then bought them home to dry out before initiating any repairs..  I have a couple of old ones that I covered in plastic to replace them with temporarily.
        Couple of weeks of drying out and I gave them a good sand down with an orbital sander before filling the hairline cracks (and cavities behind them.. 😒) with an epoxy silica paste.

        I used some thin plastic sheet to push the same down between each of the layers on the corner and clamped it...


        Before...


        After..

      That'll do for now....  😏